Printable Stationery
Page 2
Let's Continue!!
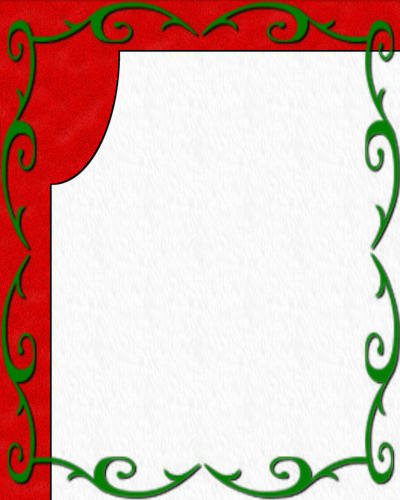
Now you should have something like this:
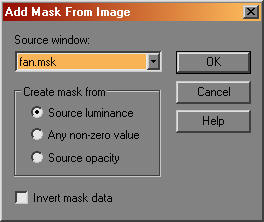
12.) Add a new Raster Layer. Flood fill it with a contrasting color for your Mask. Go to Layers>New Mask Layer>From Image, and in the drop-down box find the fan mask and click on it. Check the Source luminiance box and make sure the Invert mask is Not checked, then click ok.
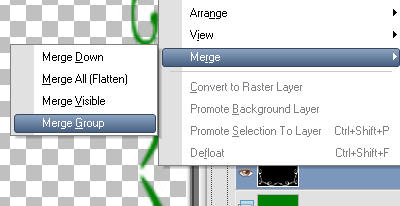
13.) In your layer pallet, right click on the Mask-Raster 2 layer, Merge>Merge Group.
14.) Adjust>Shaprness>Sharpen. Add the same drop shadow as for the border. Now you should have something like this:
We're almost done!!
15.) Now, copy/paste your tube as a new layer onto your stationery, then move it to the upper left corner. Effects>3d>Drop Shadow with these settings: Vertical and Horizontal at 2, Opacity 100, Blur 20.0 and Color White. Click OK. Repeat the drop shadow 2-3 times as you like.
16.) If you wish, add text now, with a drop shadow so it will stand out.
17.) Right click in the layer pallet and Merge>Merge Visible.
If you wish to conserve ink, you may print your stationery now, with the transparent background. HINT!! Print it on colored and/or textured paper :-) Skip to step 19 now.
18.) To have a background on the stationery, add a new raster layer, move that layer to the bottom (right click the new layer in the layer pallet, Arrange>Send to Bottom), flood fill with a light color to match your border or mask, then if you wish, add noise, and a texture of your choice. For my final example, I flood-filled with white, added noise the same as the border, used the same Eye Candy Fur settings, and then lowered the opacity of that layer to around 30%. Merge>Merge All.
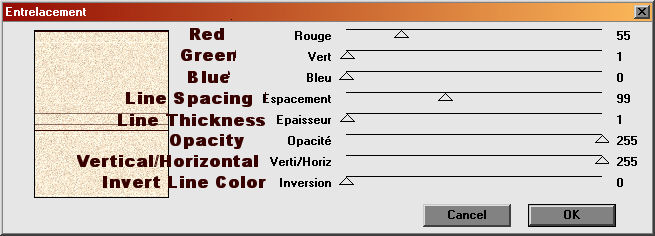
18a.) Here's a good time to add lines to your stationery if you wish. Making sure your background layer is active, Effects>Plugins>Jeux de lignes>Entrelacement with these settings: the RGB value of your border color (taken from your material pallet), Line spacing 100, Line thickness 1, Opacity 255, V/H 255, Inversion 0. Click OK.
Layers>Merge>Merge All.
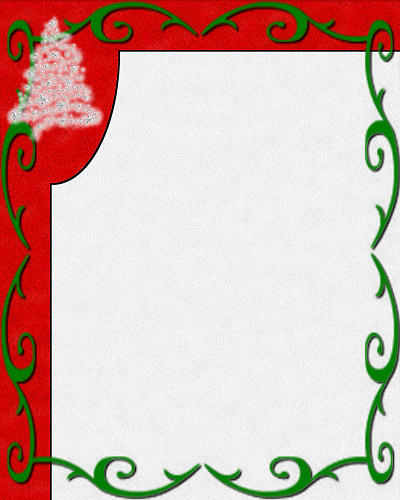
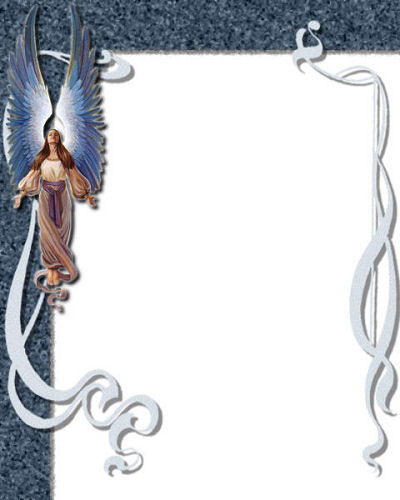
Now, here's my finished stationery.
19.) To print, File>Print, make sure Portrait is checked, and Fit to page, then click Print!
You did it!!
I hope you have as much fun with it as I did :-)
Bonus Idea :-) I've been making my own Quarter Fold Greeting cards the last couple years....fun, easy and personalized. How cool would it be to have this printed on the back, so you have all that extra special writing space!!
Page 1
My first try :-)
And one with Lines.

My Terms of Use for this tutorial are as follows: You may send the link to this tutorial, but Not the tutorial itself, to whomever you think will have fun with it. Groups are welcome to use the tutorial, but I would like to know first :-) Please drop me a note of request Here before posting in a group setting.
I do not know the artist of this beautiful Christmas Tree image, or the person who tubed it. I would love to give credit to them and would appreciate you dropping me an Email if you know.
This page and tutorial are copyright to Janie Shipman, June 2006.
This site is best viewed at 1280x1024 in Internet Explorer 6+.