Bezier Curve Tubes for PSP8
I had to write my own version of this technique because all tutorials I had available for making Bezier lines were missing certain steps that prevented me from being successful. I am a rank novice with Bezier lines. I hope this will be understandable for anyone who tries this. I used bits and pieces from four different tutorials in order for it to work for me. So let’s get on with it!
- In PSP8 open a new transparent
image 1200 px wide and 300 px high.
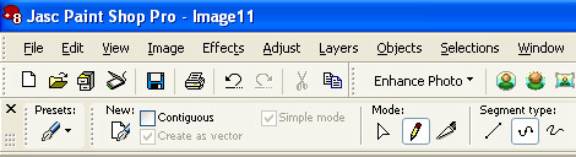
- Click on your Pen Tool in your
Tool Palette. Make sure the
Create as Vector box is checked.
Select the Drawing mode,
and Segment Type is Point to Point as shown
below.
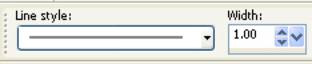
Line Style and
width as shown below.
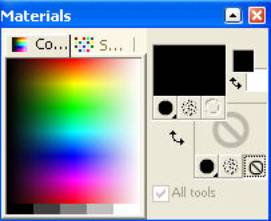
In the
Materials Palette set your foreground colour, and close off the background
colour as shown below.
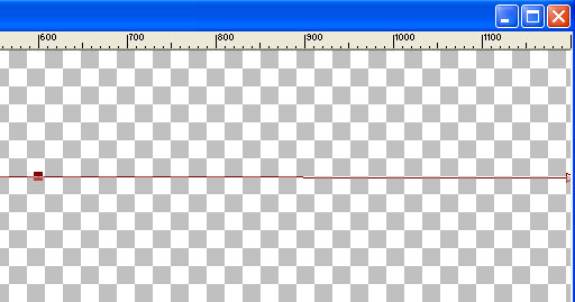
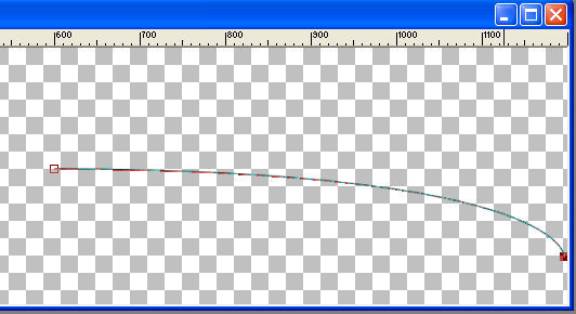
- With the help of your
coordinates, bring your cursor to the middle of the image and draw straight
across to the right edge of the image.
You will see a red arrow pointing toward the right at the very
edge.
Left Click
either above or below the red line.
Your line will curve toward the new destination as shown
below.
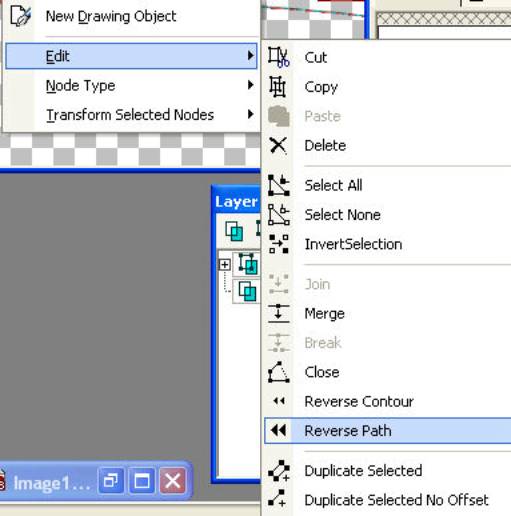
- Right click on the little
square in the middle of the tile.
You will get a popup:
select Edit > Reverse Path.
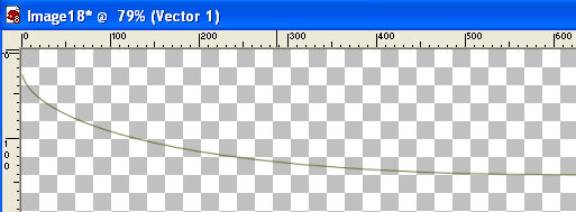
- Now the arrow is at the left
margin and pointing toward the left.
Left click above or below the red line and you will have another curve
as shown below.
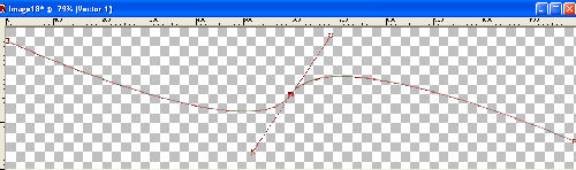
- You may manipulate the curves
by clicking on the square in the middle of the tile at the 600 px mark. Click on the arrow head and bring it
back a bit to the middle to shorten the stroke and you can manipulate your
curves by moving it in whichever directions you wish to get your desired
curves.
Once you have
the bezier line the way you want it, go to the little squares against your two
sides and click on each and drag a bit beyond the edges to ensure that the line
indeed reaches the very edges. This
is imperative for the next step.
- Select the Magic Wand and click
above the line on your tile. You
will get the marching ants from the top and sides as far as your bezier
curve. (If you see lines below
the bezier curve, then your lines were not extended far enough outside the
image in Step 6.)
- Add a New Raster Layer. Then go to Effects > 3D Effects
> Drop Shadow with the following values:
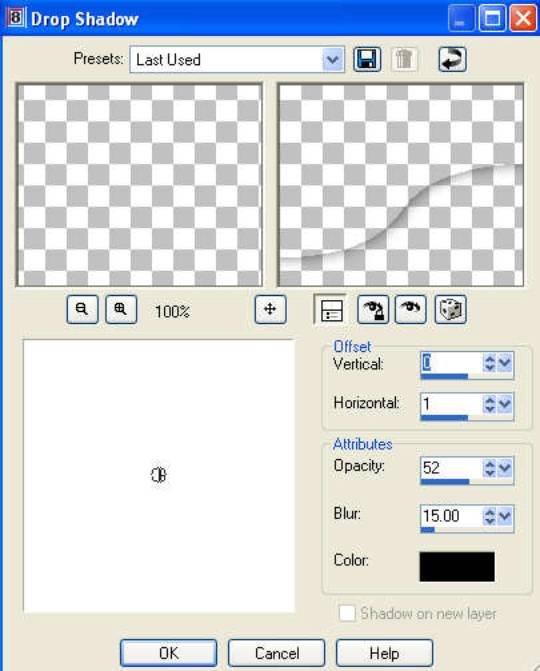
While still
selected, go to Selections > Invert and apply the same settings for Drop
Shadow as before.
DESELECT.
- On your Layer Palette, delete
the Vector Layer. Make sure you
have Raster 2 highlighted. Right
click on image > Edit > Copy > Edit > Paste as a New Image. You will now have a resized tube ready
to be saved as a tube/PSP image.
Special thanks
go out to Yvonne for testing this tutorial. You have been a great help with
this.
I hope you
enjoyed making your bezier lines and tubes.
Hugs,
Natalie