I used PSPx, but this will also work in any version of PSP with little change.
The example above is different from the one you will see in the steps. What you make is only limited by your imagination :-)
1. First, decide how big you want your text to be. The tag above is 500x200. A small tag for email use would probably be around 200x100, the size of the "Back" button at the bottom of this tut.
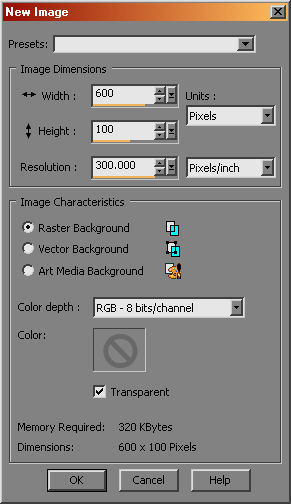
2. Then go up to File-New and set your numbers to your Width and Height, then have all other settings as in the example below.
Click OK.
3. Now, let's talk about choosing your Materials. In the example above I used both a Pattern and a Gradient. There are some in PSP already, so even if you are a beginner, you have ready supplies to use. Of course you can make your own to use too!
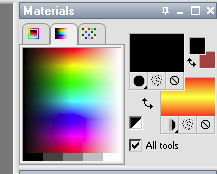
4. In your Materials Palate, the top solid color box is your Foreground, or "border", and the bottom box is the Background, or "center".
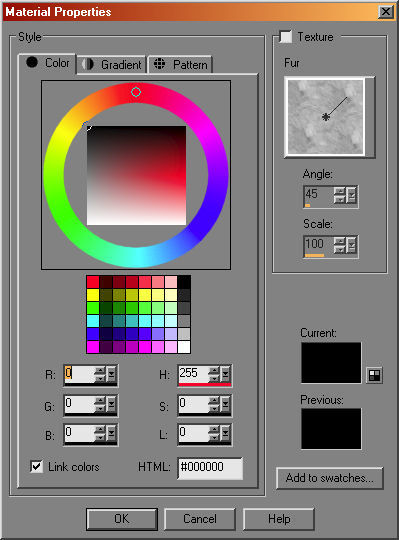
Click in the Foreground box. This brings up your choice window. Click on the tab at the top of the window for Color, Gradient or Pattern.
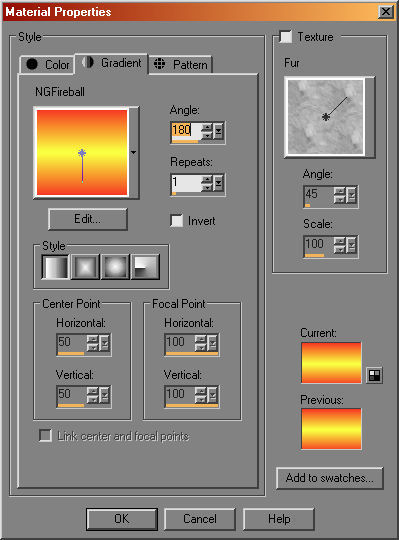
5. Click on the Gradient Tab. On the left of that window is a box displaying the current gradient, and on the side of that box is a little bar with a tiny arrow on it. Click on that bar and a new window will come up with all the gradients you have available in PSP. Click on one that you like and you will now see it in the box.
OK, now I want you to Play :-)
Change the Angle, Change the Repeats, check the Invert box, Click on each of the 4 Style boxes. When you find something you like, click OK on the bottom of that window.
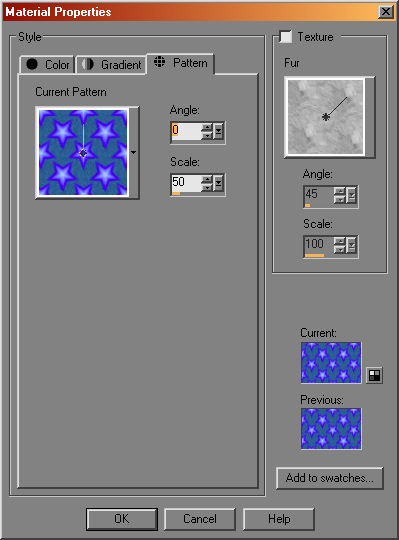
6. Now click on your Background box and choose the Pattern Tab. You choose your pattern just like you did the gradient, click on the little bar with the arrow beside the Current Pattern box.
7. Not as many options, but, try changing the Angle and Scale and see what you like, then Click on Ok at the bottom of the window.
OK, now you have your background and foreground set. Let's talk a moment about Fonts
Windows in any version, does not like too many fonts installed. Make a folder somewhere on your hard-drive to save fonts to. To use one, simply go that folder and double click on it. Then it will be available in PSP to use. That being said.....
8. Click on your Text tool and choose your font.
In the drop-down box choose the font. The size will depend on the font you choose. The Stroke is a border around the text and in my example is a size 1, and will be what you have set as the Foreground. If you wish no border, set the Stroke width as 0. Have all the other settings as shown.
9. Click somewhere in your blank canvas.
Type your text in the window that comes up. You should be able to see what it looks like on the blank canvas. If it's a little too big or small, that's alright, click on the Apply button. If it's way too big or too small, click on the Cancel button and change the size of the font.
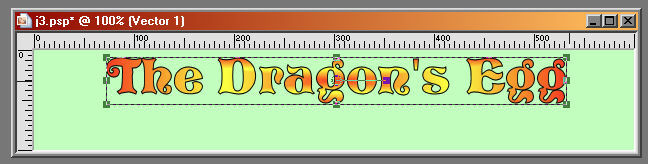
You should have something like this.
10. See the little black boxes at the corners and middle of each line? Put your cursor over those boxes and left click, holding the click and dragging the box out to nearly fill your canvas. If you put your cursor in the center, over a box there, you can move the whole box.
Something like this is what you should have now.
11. Let's give it a bit of drop shadow. At the top of the screen, click on Effects-Drop Shadow, and make the settings Vertical 2, Horizontal 2, Opacity 100% and Blur 5.00 and click on OK.
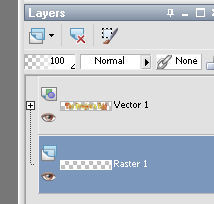
12. Now, in the layer palate on the right of your screen, click on Raster 1 layer so it is highlighted.
13. Click on your Flood Fill tool, then click on your image. Left click to fill with your Foreground and Right click to fill with your Background. Of course you can at this point change your background and foreground to solid colors or other patterns or gradients as suits your desires :-)
14. Almost done!! In your layer palate, right click on one of the layers and Merge-Merge All.
As a final step, if your background is other than a plain white, you may want to add a bit of border around your tag. To do this, at the top of the screen choose Selections-Select All. Then Selections-Modify-Contract and make it maybe 5, more or less as suits your results. Now, Selections-Invert, and then Effects-Inner Bevel at the default settings.
To finish, go to File-Export As-JPG Optomizer, and click OK with the default settings. Save it as a jpg with a name you will remember :-)
You're done!! Now play some more :-)