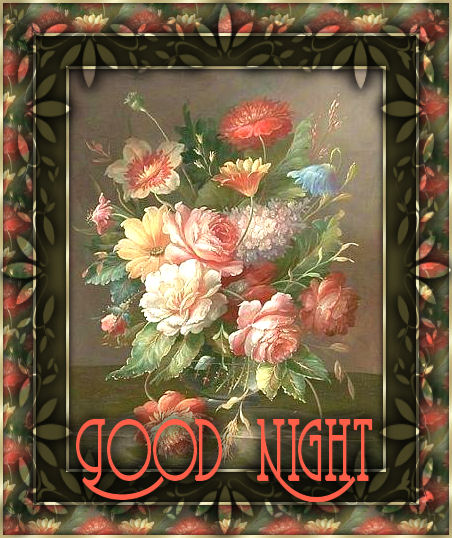
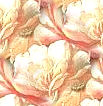
For this tutorial you will need a graphic, mask and font. I have supplied what I used, but feel free to use your own!!
No outside filters were used for this tutorial.
1. Open your image in PSP. Shift+D to duplicate, then close the original. Open the Mask also in PSP, and the font of your choice.
Pick a light color from your graphic for the Foreground, and a darker color for your Background.
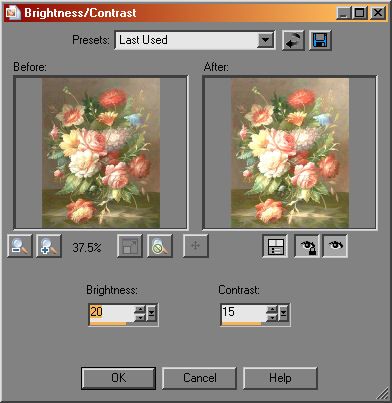
The image I'm using is a little on the dark side, so first we're going to lighten it up a bit.
2. Go to Adjust-Brightness/Contrast, with a setting of 20 for Brightness and 15 for Contrast.
Now, we want to Pull a couple patterns out of the graphic to use.
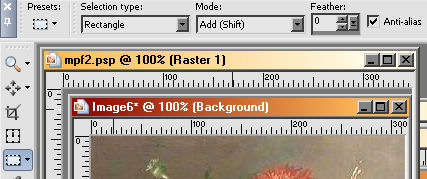
3. Choose your Selection tool, settings as shown here:
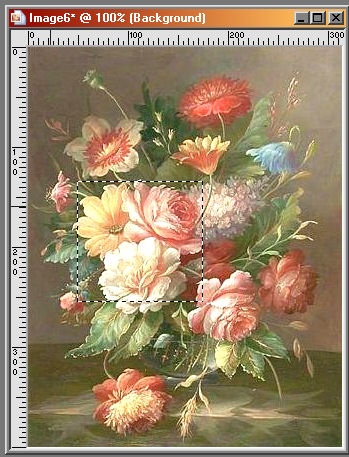
Draw a rectangle around a piece of the graphic. We're going to do this twice, so pick a lighter area first time and darker the second.
When you have your first selection, right click on the top bar of your image and choose Copy, then right click in an open area of the workspace and choose Paste as New Image.
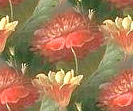
With your New Image still active, go to Effects-Image Effects-Seamless Tiling with the Default settings.
You have your first seamless pattern to use and save if you like :-)
Back to your original image, Selections-None, and then draw out another rectangle from a darker place on the graphic. Repeat the steps to make your second pattern. Here's mine.
Minimize both your patterns or move them to the side of your workspace.
Activate the main graphic, Selections-None.
3. Image-Add Borders-3 px symetrical, white. Click the white border with your Magic Wand, Tolerance and Feather set to 0.
I used a Gold pattern to flood-fill this border. But you could use one of your patterns or a contrasting color.
Do Not Deselect yet!
Selections-Invert.
Selections-Float.
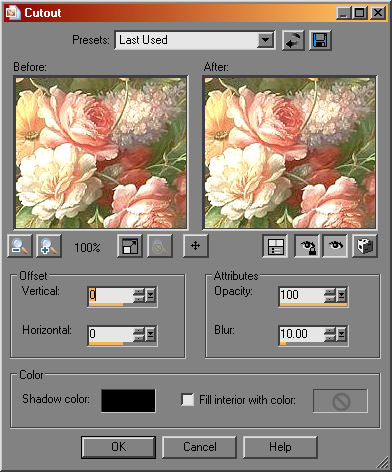
Effects-3d-Cutout with these settings.
Selections-None
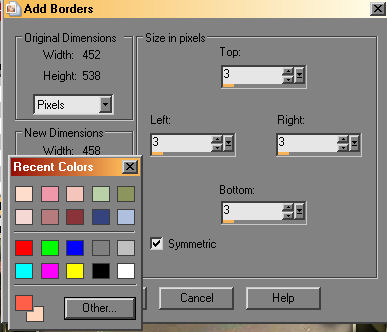
4. Image-Add Borders-30 px symetrical, your background color.
Hint!! If you right click in the color box within the Add Borders window a new little window will pop up. In the very bottom left of that window you will see your Foreground and Background colors. Just click on the Background color and Voila!!
Click on the dark border with your Magic Wand.
Selections-Float. Repeat the Cutout as in Step 3. Selections-None.
5. Repeat the 3 px border, flood-fill with Gold or color.
6. Image-Add Borders-30 px symetrical, your background color again. Click on the dark border again, this time flood-filling it with one of your patterns.
With the border still selected, Selections-Float. Effects-3d-Cutout as in Step 3. Selections-None.
7. Repeat the 3 px border.
Now, if you have more than one layer in your layer palate, Layers-Merge All.
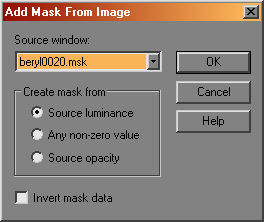
8. Layers-Duplicate. With the top layer highlighted, Layers-New Mask Layer-From Image.
In the new window, choose the mask from the drop down, Source luminance ticked and Invert mask data Unchecked.
Layers-Merge-Merge Group.
Don't Panic!! You may not see it but it's there :-) Look in your layer palate, the top one is just a frame !
And we're almost done :-)
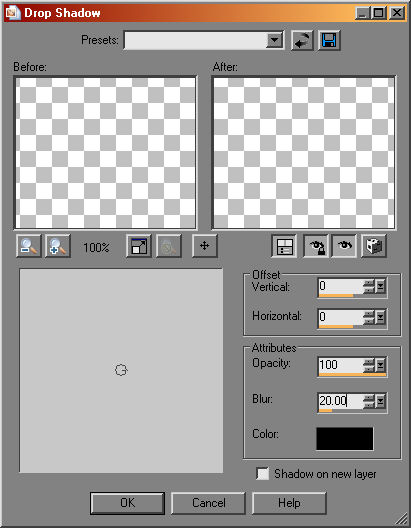
9. With the top layer highlighted, go to Effects-Drop Shadow with these settings.
Now you should see the mask. Using the graphic as the mask gives you a much more subtle effect and allows you to decorate without detracting from the centerpiece.
Add some text if you wish.
10. Layers-Merge-Merge All.
You did it!!