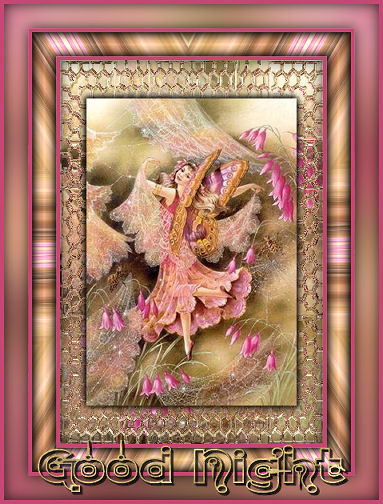
For this tutorial you will need a graphic.
No outside filters are used.
Unzip the Pattern to your Pattern folder and the Texture to your Texture folder.
I will call this Advanced Beginners, because I am assuming some basic knowledge. Be sure and Save Often :-)
Open your chosen graphic in PSP. Shift+D to duplicate, then minimize the original, we will be using it later.
Activate your graphic.
If it large, resize it a bit smaller. It's best to keep the largest side at less than 500px.
We will be adding several borders and to wait till the end to reduce the size will also loose a lot of the detail.
When you are ready to start, go to your layer palette and right click on the background layer and Duplicate.
Click on the Eye in the top layer to close it off.
Highlight the bottom layer in the layer palette.
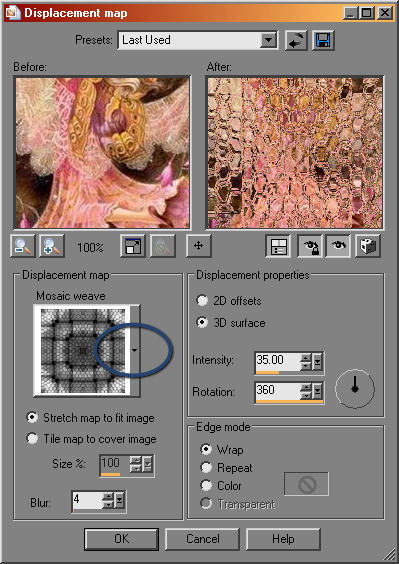
Effects-Distortion efftects-Displacement map, with these settings.
Click on the arrow next to the texture box and locate the Mosaic Weave.
Highlight and open the top layer in your layer palatte.
Image-Resize, 80%, All Layers Not checked.
Effects-3d-Drop Shadow, V and H 2, Opacity 100, Blur 5, color black.
Repeat Drop Shadow.
Repeat Drop Shadow, changing the V and H to -2.
Choose a light color from your graphic for the Foreground color, and a dark one for your Background color.
Image-Add Borders, add a 5px symetrical border, with the most contrasting color, light if your graphic is dark and dark if your graphic is light.
Image-Add Borders, 30px symetrical, in the other color.
With your Magic Wand, select this large border.
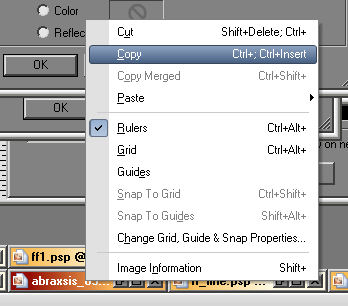
Right click on your minimized copy of the original graphic and Copy.
Edit-Paste Into Selection.
Adjust-Blur-Gaussian Blur, with a radius of 30.
Selections-Float.
Effects-3d-Cutout, V and H at 0, Opacity 100, Blur 25, color black if border light, white if border dark.
Selections-None.
Image-Add Borders, 5px symetrical, contrasting color.
Image-Add Borders, 30px the other color.
With your Magic Wand, choose this border.
Edit-Paste Into Selection, as you should still have the Copy of the original in the clipboard.
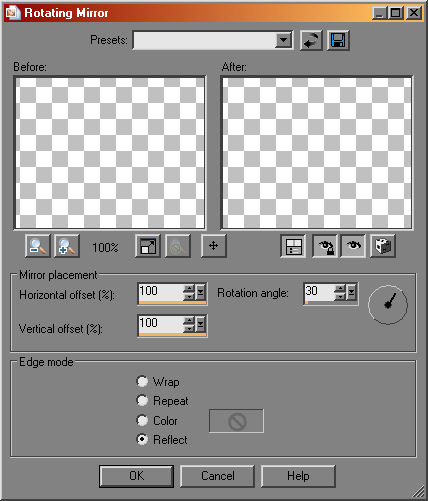
Effects-Reflection effects-Rotating Mirror with these settings.
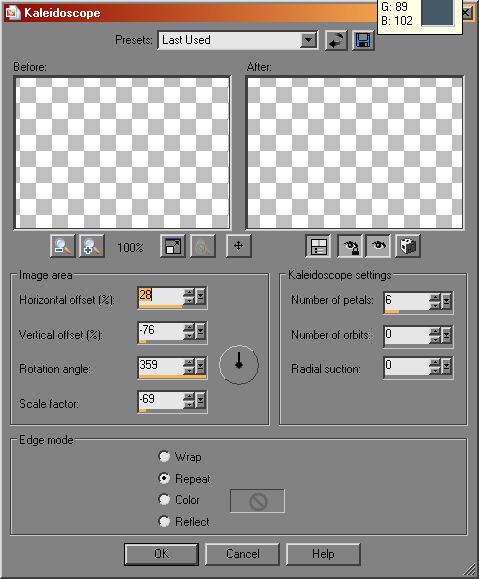
Then Effects-Reflection effects-Kaleidoscope with these settings.
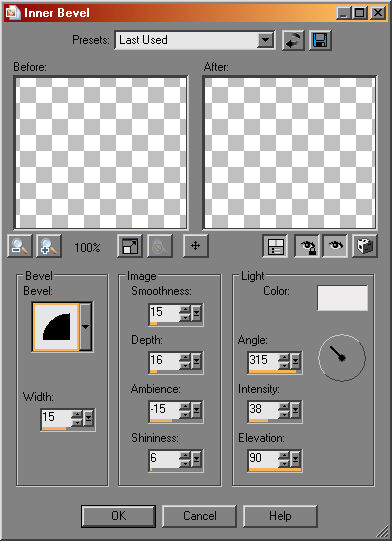
While still selected, Effects-3d-Inner Bevel with these settings.
Image-Add Borders, 5px symetrical contrasting color.
Choose your Text tool.
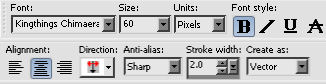
The font I used, and included in the supplies is a rather small, but wide font, Kingthings Chimaera.
I wanted a "see through" text, here's how you do that :-)
Set your Foreground to the Gold fill pattern.
Set your Background to Null, if you don't know how to do that, click on the little circle with a single line through it under the color box for the Background color.
All other settings should be like the example below. Make sure you have the Stroke set to 2 or at least 1 for a very thin border.
I also have Bold set.
I always create text as a Vector because it is easier to adjust.
You can grab it in the middle and move it, you can grab the sides and stretch it or squish it, you can make it taller or shorter.
Once you have it where you want it, and how you want it, in the layer palette, right click on that layer and Convert to Raster layer.
Effects-3d-Drop Shadow, V and H 1, Opacity 100, Blur 1, color black.
Repeat Drop Shadow.
If you wish, repeat the drop shadow one more time.
Adjust-Brightness/Contrast, Brightness at 20, Contrast at 10.
Layers-Merge-Merge All.
Resize if you wish, with Bicubic or Smart, sometimes one works better than the other :-) Thank Goodness for Edit-Undo!!!!!
Export as a JPG, save it to your desired folder, and name your tag.
You're done!!
I hope you enjoyed it :-)
I do not know the artist of this Beautiful graphic.